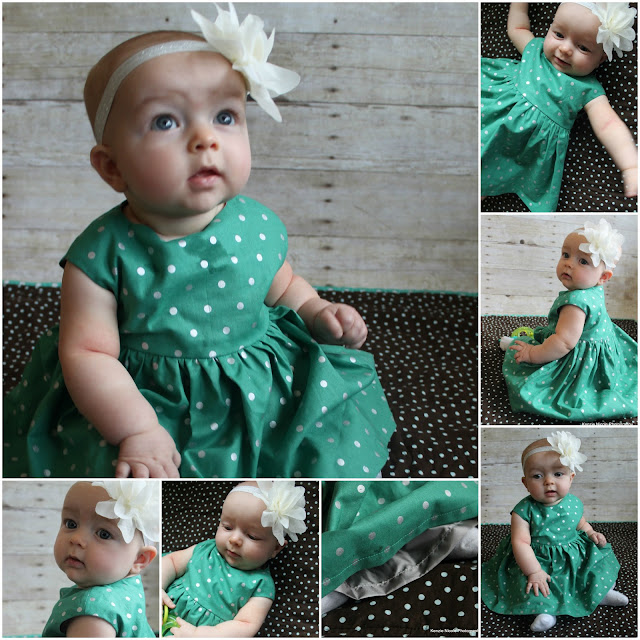
I recently sewed not one, but two, Caroline Party Dresses by Mouse House Creations. I've been wanting to sew this darling dress for awhile now, and finally was able to get to work on it. The finish on this dress is gorgeous. It's a fully lined dress with options for lining the bodice only, adding tulle peeking out of the bottom, and pockets. I opted for the fully lined dress, leaving off the tulle and the pockets (babies don't need pockets, right?). Step-by-step photo instructions are included with excellent instructions for inserting an invisible zipper, which just so happens to be my favorite kind of zipper to install. (I purchased this pattern some time ago and have had it in my pattern stash waiting for the perfect fabric to use with it. Throughout this post I have used some affiliate links and appreciate when my readers purchase patterns through my affiliate links, I receive a small portion of the sale, which helps support my sewing and my blog efforts. Thanks!)
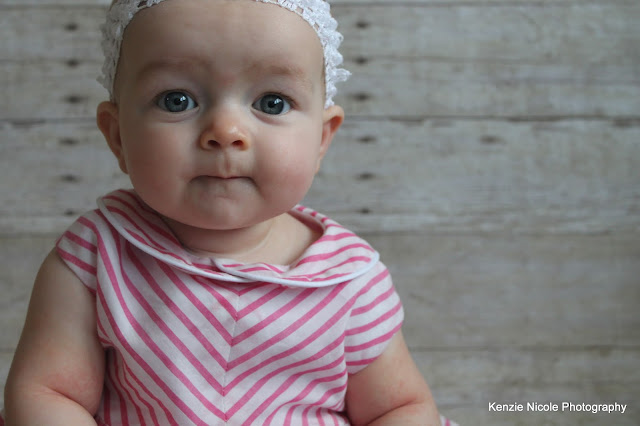
On this second Caroline Party Dress, I used pink and white striped cotton lawn fabric for the main part of the dress, and white cotton lawn fabric for the lining. I also made a few modifications to the dress: a chevron striped bodice and adding piping to the collar pieces. Of course I made all of these modifications to the Caroline Party Dress, but you could use these instructions to make the same modifications to any similar dress pattern.
How to make a chevron striped bodice
You will want to use a stripe fabric for this version. You could make your own striped fabric by sewing strips of solid color fabric together, but I opted for a striped cotton lawn fabric. Then instead of cutting your bodice out on the fold with the grain line as directed in the pattern, you simply cut it out on the bias of the fabric. 1. First you need to mark your bias line. The grain line is already marked on the pattern. Use this already marked line and draw a 45 degree angle to connecting to the grain line mark on the bodice pattern piece.
2. Another modification that you need to make is that instead of cutting the front bodice on the fold, you need to cut it out on the same line as marked for the back bodice. Here I marked the new fold line, except I didn't cut it out on the fold. I wanted the seam to go right down the center of the bodice. Cutting the bodice on this new line, allowed me to preserve my seam allowance so that I could get that perfectly matched seam down the center front of the bodice.
3. You can see here in this picture that I marked the bias in the other direction. I did this so that I could simply make the stripes either point up or point down. I chose to line them up so that they pointed down as I feel like that is much more visually pleasing.
4. Line up your bodice pattern piece on the fabric. You can cut out both bodice front pieces at the same time if you carefully align your stripes on the top and bottom fabric layer. It's a bit safer to cut each bodice piece out in a single layer, but I like to live dangerously.
5. It looks like all of my efforts paid off. Here you can see my cut out bodice pieces. Notice that the stripes are pointing down and they look like they are going to match up very nicely.
6. Using a half inch seam allowance as suggested in the pattern, go ahead and sew that center seam. I pressed the seam open and didn't do any top-stitching, which was hard for me because I'm a huge fan of top-stitching. From this point on you just continue to construct the dress as suggested in the pattern and using your chevron striped bodice as one bodice piece. You could also choose to do the chevron stripe thing on the back bodice as well, which would also look super impressive. I chose to simply leave the back stripes going straight across because I felt like I was pushing it a bit with getting everything to line up perfectly. I'm just as proud of the back of this dress as the front.
How to add piping to the collar
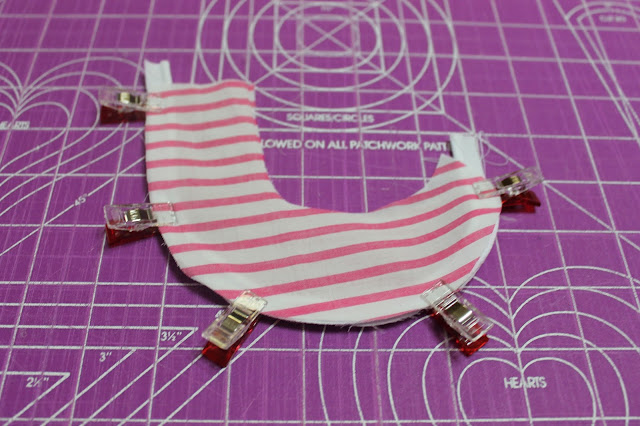
First cut out and interface your collar pieces (don't mind that I totally forgot the interfacing--hey I can't get everything perfect!) Piping works very much like bias tape. In fact piping is actually bias tape with some cording sandwiched inside of it at the fold. This makes it super easy to make custom piping tape, but I went ahead and used pre-made piping for this project.1. Sew a length of piping onto the outside edge of one of the collar pieces. You want to align the piping so that it's close to the edge of the collar piece. Attach the piping to the RIGHT side of the fabric. I left a bit of a tail at each end and used my zipper foot to stitch as close as possible to the piping edge of the strip.
2. Once the piping is attached to the first layer of a collar piece, place the second collar piece right on top of the piping, right sides together. Pin or clip well to hold everything in place.
3. Turn your collar piece over and stitch right along that first seam that you made to attach the piping. You can also stitch just inside the first seam that you made. I actually prefer to do this since it ensures that my stitching is as close as possible to the piping.
4. Clip the curves of the collar piece and turn it right sides out and give it a good pressing. If you find that you didn't get as close to the piping as you wanted to, go ahead and turn it back out and stitch again in those areas.
5. Repeat these steps with the second collar piece.
6. At this point you are ready to attach the collar to the dress and continue constructing the dress according to the pattern instructions.
This pattern is one that I have had in my stash and have been wanting to sew it up. While I did use some affiliate links in the post and appreciate when my readers purchase through my affiliate links, there is no obligation to do so. However, when you do purchase through my affiliate links, I receive a portion of the proceeds, which then goes towards helping me maintain my site and continue my sewing/creative projects. All thoughts and opinions are my own. I would never recommend a product to my readers that I myself didn't love and use. I can't guarantee your success with said product or suggestions. You should definitely check things out on your own before purchasing. You should always make a test of a tutorial or pattern out of muslin fabric so you don't ruin or waste your pretty fabrics. This also helps you check fit. For this dress, I made a size 6 months for my niece. It fits her well and her chest measurement is just a bit smaller than the suggested measurement in the pattern.
Follow me on Bloglovin'
Like Sew Happily Ever After on Facebook


No comments:
Post a Comment
I'd love to hear your thoughts and ideas!